


Website performance is an essential part of delivering a positive user experience. A website that loads slowly, responds poorly to clicks, or displays unexpected layout movements can frustrate visitors and increase bounce rates. For WordPress website owners, optimizing website speed and responsiveness is particularly important because themes, plugins, images, scripts, and hosting configurations can affect overall performance.
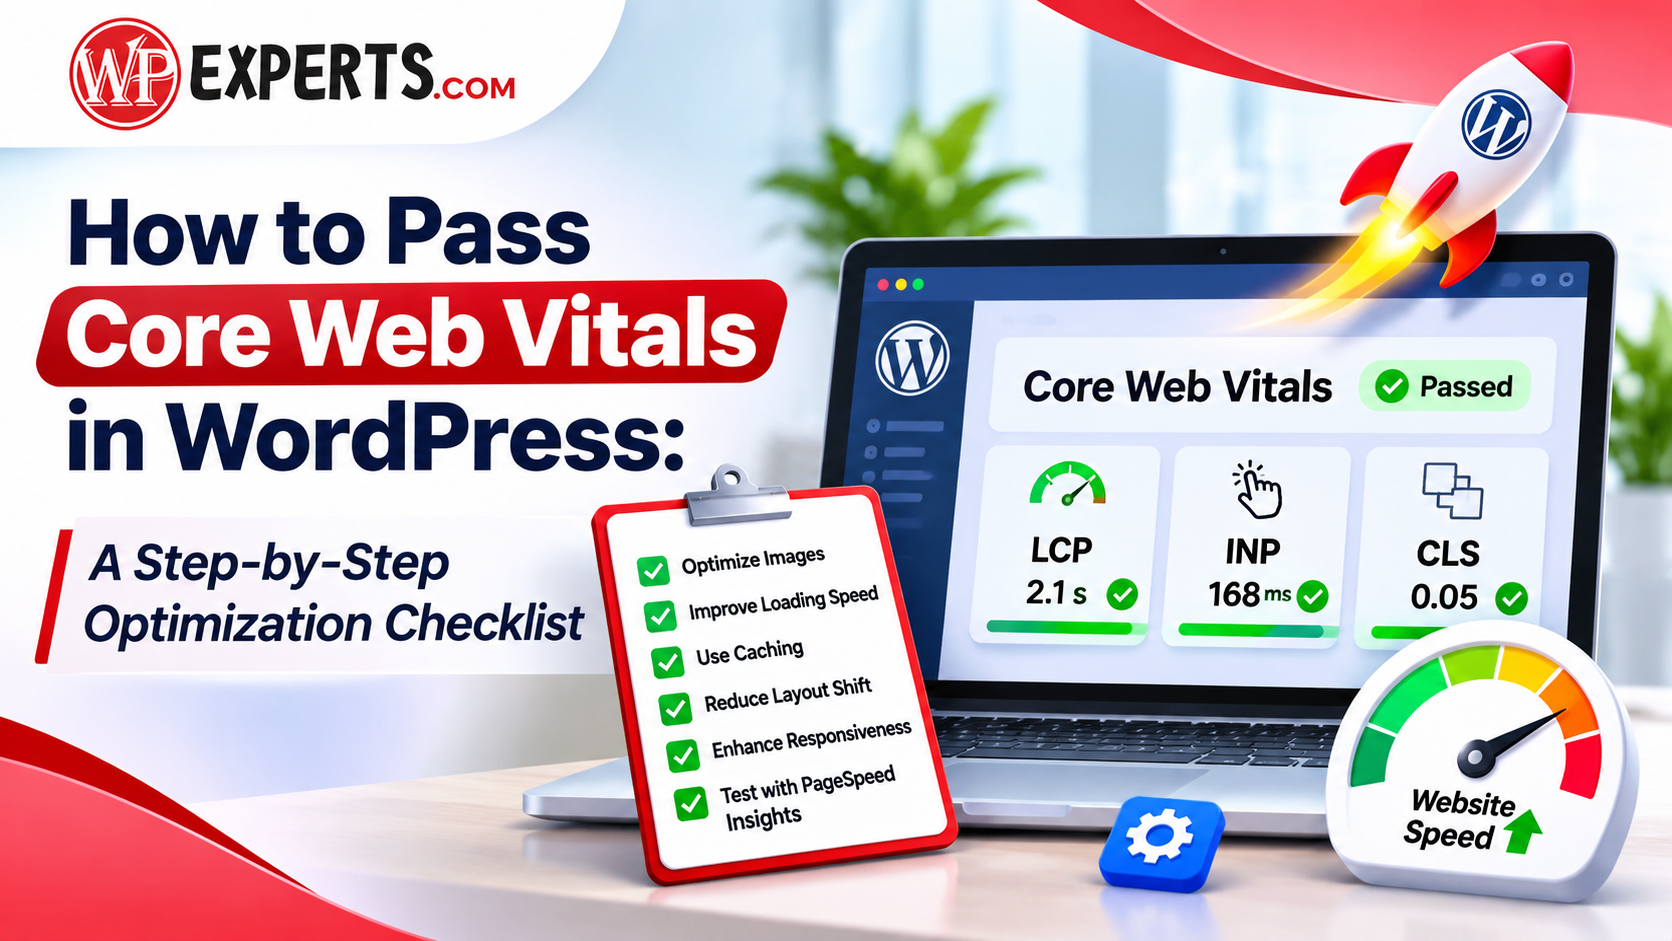
Learning how to pass Core Web Vitals WordPress performance assessments requires understanding three important metrics: Largest Contentful Paint (LCP), Interaction to Next Paint (INP), and Cumulative Layout Shift (CLS). These metrics evaluate how quickly the main content loads, how smoothly users interact with a webpage, and whether the page layout remains stable.
This guide explains the essential optimization techniques, practical WordPress adjustments, and testing methods that can help improve website performance.
What Are Core Web Vitals?
Core Web Vitals are Google’s user experience metrics designed to measure three important aspects of website performance.
The three metrics and their recommended thresholds are:
| Metric | What It Measures | Good Score |
|---|---|---|
| Largest Contentful Paint (LCP) | Loading performance | 2.5 seconds or less |
| Interaction to Next Paint (INP) | Website responsiveness | 200 milliseconds or less |
| Cumulative Layout Shift (CLS) | Visual stability | 0.1 or less |
Google evaluates these metrics using real-user experience data, generally at the 75th percentile of page visits. Therefore, a single successful speed test does not guarantee that every visitor experiences the same performance.
Improving these measurements can contribute to a better browsing experience and support website quality. However, good Core Web Vitals scores alone do not guarantee higher search rankings.
Step-by-Step Checklist to Pass Core Web Vitals WordPress
Optimizing a WordPress website requires a systematic approach. Instead of installing multiple performance plugins immediately, identify the problems affecting your website and apply the appropriate solutions.
Step 1: Test Your Website Performance
Before making technical changes, establish your website’s current performance.
Start by testing important pages, including the homepage, blog posts, service pages, and landing pages.
Useful performance testing tools include:
- Google PageSpeed Insights: Measures mobile and desktop performance and provides optimization recommendations.
- Google Search Console: Identifies URL groups with poor, moderate, or good real-user performance.
- Lighthouse: Provides detailed performance diagnostics.
- Chrome DevTools: Helps identify rendering problems, JavaScript execution delays, and layout shifts.
Run tests on both mobile and desktop devices. Mobile performance deserves particular attention because visitors may use slower networks and less powerful devices.
Record the existing LCP, INP, and CLS measurements. This baseline will help you evaluate the effectiveness of future improvements.
Step 2: Improve Largest Contentful Paint
Largest Contentful Paint measures how long it takes for the largest visible content element to appear. This element is commonly a banner image, featured image, video poster, or large heading.
To improve LCP WordPress, focus on reducing server response time and optimizing the resources responsible for displaying the main content.
Follow these optimization techniques:
- Compress large images without noticeably reducing their visual quality.
- Convert suitable images into modern formats such as WebP or AVIF.
- Use properly sized images instead of uploading unnecessarily large files.
- Preload critical resources when appropriate.
- Avoid lazy-loading the main above-the-fold LCP image.
- Use a reliable hosting provider with sufficient server resources.
- Reduce unnecessary redirects and improve server response time.
- Minimize render-blocking CSS and JavaScript.
For example, if your homepage contains a large banner image, optimize its dimensions and file size. Ensure that the browser can discover and load this important resource as early as possible.
Step 3: Reduce Cumulative Layout Shift
Cumulative Layout Shift measures unexpected movement of webpage elements while users interact with or view a page.
A common example is clicking a navigation link just as an advertisement loads above it, causing the content to move unexpectedly.
To reduce CLS, implement the following practices:
- Specify width and height attributes for images and videos.
- Reserve sufficient space for advertisements and embedded content.
- Avoid inserting banners above existing content after the page starts loading.
- Use consistent font loading strategies.
- Define appropriate dimensions for iframe elements.
- Ensure that pop-ups and promotional sections do not unexpectedly shift the page.
- Use CSS aspect ratios for responsive media containers.
Fonts can also contribute to layout instability when the fallback font and final web font have significantly different dimensions.
Using properly configured font-display properties and compatible fallback fonts can help reduce unexpected movement.
Step 4: Improve Interaction to Next Paint
Interaction to Next Paint measures how quickly a webpage responds visually after a user interacts with it through clicks, taps, or keyboard inputs.
Poor responsiveness often results from excessive JavaScript execution, complicated animations, and resource-intensive third-party scripts.
To improve INP, consider these practical changes:
- Remove unnecessary JavaScript files.
- Defer non-critical scripts where appropriate.
- Break long-running JavaScript tasks into smaller tasks.
- Reduce unnecessary event listeners.
- Avoid excessive animations and complicated interactive elements.
- Optimize navigation menus and search functionality.
- Review chat widgets, tracking scripts, and social media integrations.
- Ensure that interactive buttons provide immediate visual feedback.
For WordPress websites, page builders and feature-heavy plugins can sometimes introduce additional JavaScript. Review their impact before deciding whether they are necessary for PageSpeed Insights.
Step 5: Configure WordPress Caching
Caching reduces the amount of processing required to generate webpages for visitors. Instead of rebuilding the same page repeatedly, WordPress can serve previously generated content.
WordPress caching plugins can help implement page caching, browser caching, and other performance improvements.
Important caching techniques include:
- Page caching: Stores generated HTML pages for faster delivery.
- Browser caching: Allows visitors’ browsers to reuse previously downloaded resources.
- Object caching: Reduces repeated database queries.
- GZIP or Brotli compression: Reduces the size of transferred files.
- CDN caching: Delivers static resources through geographically distributed servers.
Choose a caching solution compatible with your hosting environment. Avoid running multiple plugins that perform the same caching functions, as conflicting configurations can create performance problems.
After enabling caching, clear existing cache files and test your website again.
Step 6: Optimize Your WordPress Theme and Plugins
Your WordPress theme and installed plugins directly influence website performance.
A theme containing unnecessary scripts, complex animations, and excessive design elements may increase loading time.
Review your installed plugins and remove those that are no longer required.
Follow these recommendations:
- Choose a lightweight, regularly maintained theme.
- Delete inactive and unnecessary plugins.
- Avoid installing multiple plugins with overlapping features.
- Update WordPress, themes, and plugins regularly.
- Replace poorly optimized plugins with efficient alternatives.
- Avoid excessive use of sliders, animations, and external widgets.
Before removing or updating important components, create a complete website backup and test significant changes on a staging environment.
Step 7: Optimize Images, Fonts, and CSS
Large media files and unnecessary styling resources can increase page loading time.
Image optimization should include proper compression, responsive image delivery, and modern file formats.
For fonts, use only the required font weights and styles. Loading several font families unnecessarily can increase resource requests.
For CSS optimization:
- Remove unused CSS where safe.
- Minify CSS files.
- Load critical styling efficiently.
- Avoid excessive inline styling.
- Reduce unnecessary third-party stylesheets.
Be careful when combining or delaying CSS files. Incorrect optimization can affect website appearance and cause visual problems.
Step 8: Use a Content Delivery Network
A Content Delivery Network (CDN) distributes website resources across multiple geographical locations.
When visitors access a website, the CDN can deliver static files from a nearby server instead of relying entirely on the original hosting server.
This can reduce network latency and improve content delivery, particularly for websites serving international audiences.
Consider using a CDN for images, CSS, JavaScript, and other static resources. Configure caching rules carefully to avoid serving outdated content.
Step 9: Monitor Performance Regularly
Website optimization is an ongoing process. New plugins, website redesigns, additional scripts, and content updates can affect performance.
Use PageSpeed Insights to review individual URLs and identify new optimization opportunities.
Google Search Console’s Core Web Vitals report is also useful for understanding real-world user experiences across groups of similar URLs.
Remember that laboratory tests and real-user measurements serve different purposes. Laboratory tests help identify technical problems, while field data reflects actual visitor experiences.
Common WordPress Performance Mistakes to Avoid
Even after applying optimization techniques, certain mistakes can prevent websites from achieving good performance.
Avoid these common problems:
- Installing too many optimization plugins.
- Using oversized images without compression.
- Lazy-loading important above-the-fold images.
- Loading unnecessary external scripts.
- Ignoring mobile performance.
- Using unreliable hosting services.
- Applying aggressive JavaScript optimization without testing.
- Forgetting to clear caches after configuration changes.
- Focusing exclusively on desktop speed scores.
A balanced optimization strategy should improve performance without compromising website functionality, accessibility, or design.
Final Word: Build a Faster WordPress Website
To successfully pass Core Web Vitals WordPress assessments, website owners should focus on loading performance, responsiveness, and visual stability. Start with a detailed performance audit, identify the biggest technical issues, and implement improvements systematically.
The most effective approach combines optimized images, efficient themes, reliable hosting, appropriate caching, lightweight JavaScript, and regular performance monitoring.
Following this checklist can help you pass Core Web Vitals WordPress performance assessments while delivering a smoother browsing experience. Remember that optimization is not a one-time activity. Regular testing and maintenance are essential for keeping your website fast, stable, and user-friendly.
For WordPress website owners, investing time in technical performance optimization can create a stronger foundation for long-term website growth.

Leave a Reply